Tell us a little bit about yourself.
My name is Yan Ostretsov, and I am a Designer/Artist in the Entertainment Industry. I was raised in Siberia, Russia, but moved to the United States in 2001. I began my career by creating custom levels and mods for various games, starting with Kingpin: Life of Crime by Xatrix Entertainment. I then went on to make custom maps for Doom 3, Quake 4, and other games. In 2008, I got my dream job at the legendary id Software where I worked as a Game Designer on Quake LIVE and RAGE. My responsibilities included everything from Level Design, Modeling, Texturing, Lighting, and creating paintovers. At id Software, everyone was expected to have a diverse skill set and work in multiple disciplines. After that, I joined Infinity Ward, the creators of Call of Duty, where I worked as a Game Designer on several titles. In between, I did freelance work in non-gaming fields, such as creating concept art and visual development for a CHANEL (Gabrielle Perfume) commercial, matte paintings for the Marvel Universe, etc. This eventually led me to work on Disney’s Lion King film as a Senior Lighting Artist, where I worked under the guidance of cinematographer Caleb Deschanel on a two-person team led by Samuel Maniscalco. I then joined Amazon’s Game Studio as a Senior World Artist, and currently, I am a Principal Lighting Artist at
Striking Distance Studios.

Tell us a little bit about The Callisto Protocol.
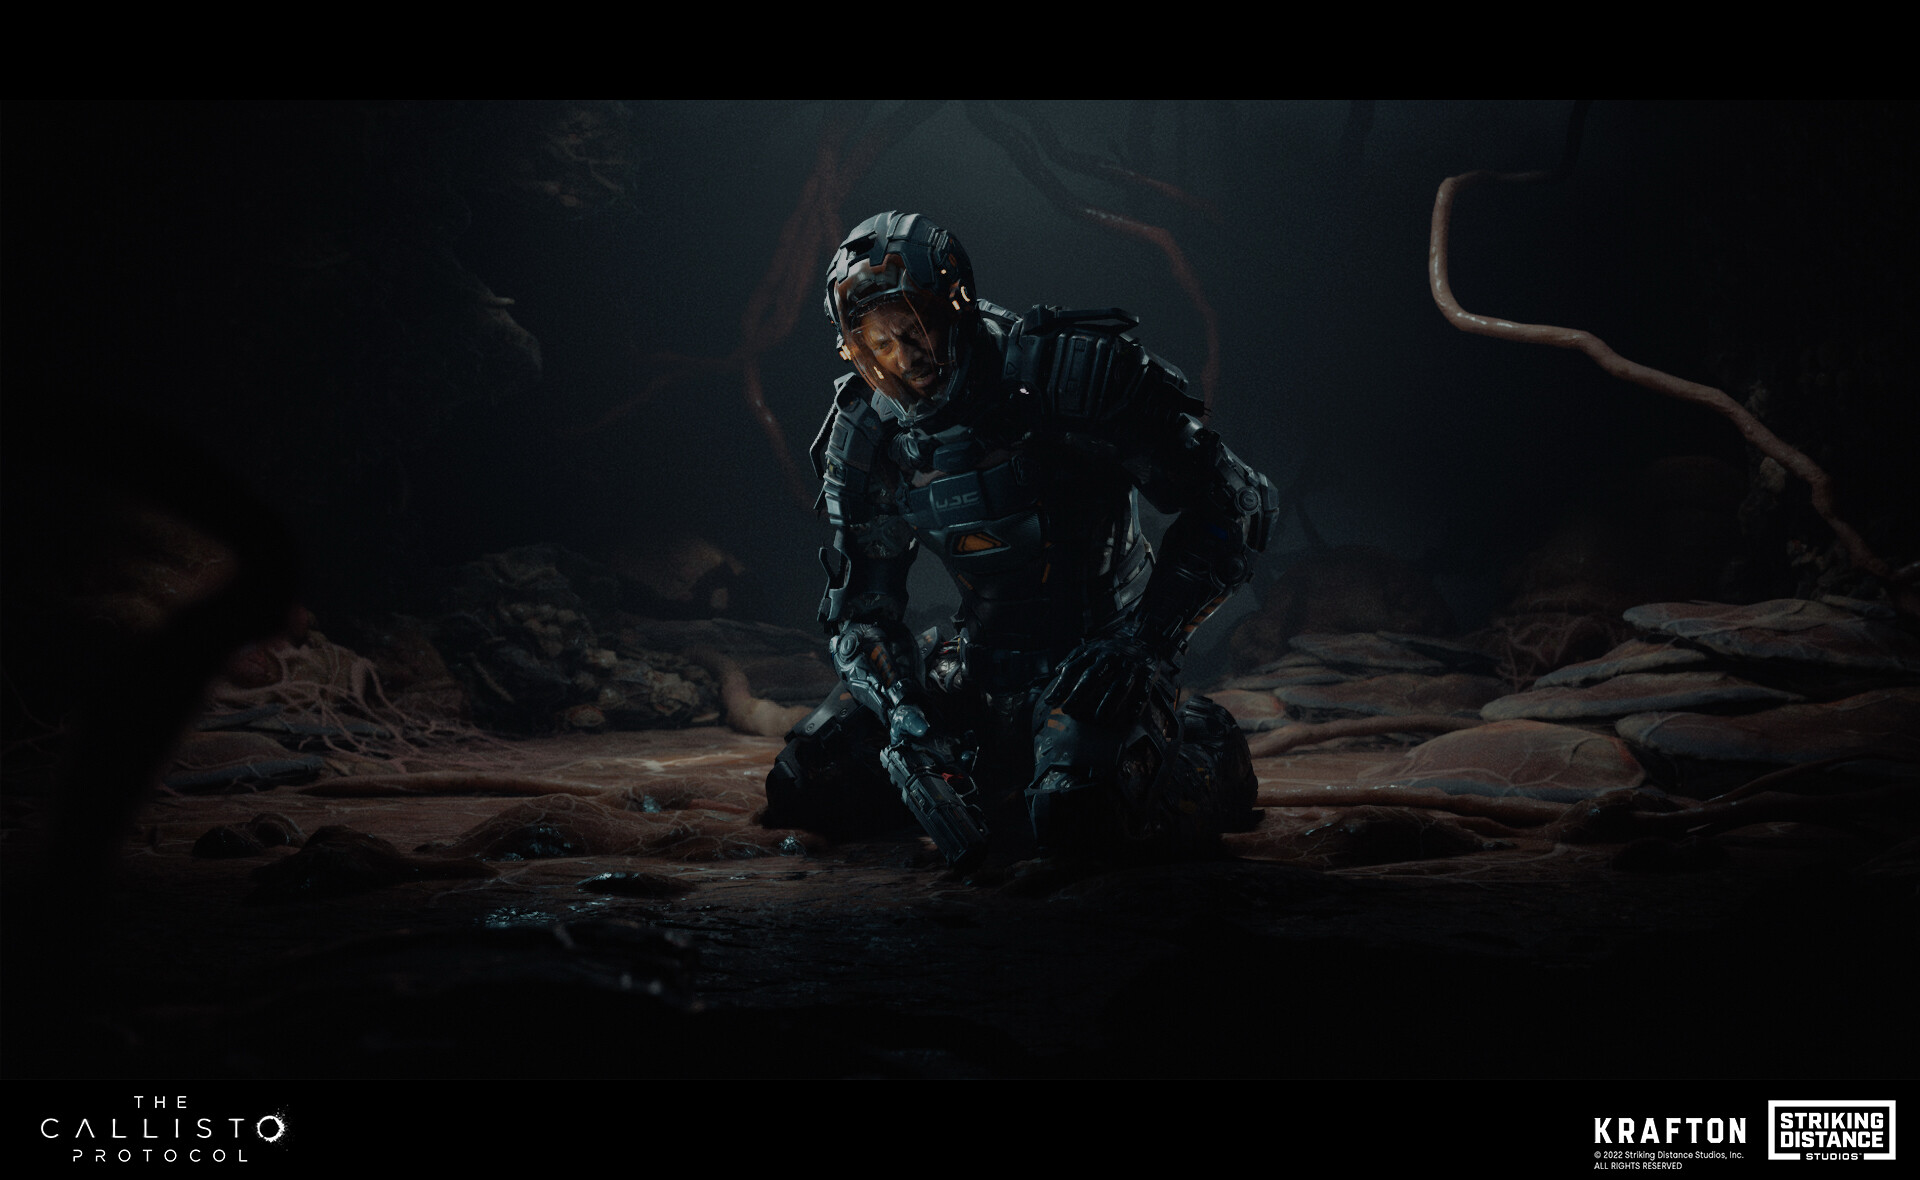
The Callisto Protocol also known as TCP is a third-person, narrative-driven survival horror game developed by Striking Distance Studios, led by Glen Schoefield, the original creator of Dead Space. Set 300 years in the future, the player takes on the role of Jacob Lee, a man thrown into Black Iron Prison, a maximum-security penitentiary located on Jupiter’s moon, Callisto. When the prisoners begin to
transform into monstrous creatures, the prison descends into chaos, and Jacob must fight for survival and escape the Black Iron Prison.

What were your responsibilities during The Callisto Protocol?
As a Principal Lighting Artist, my responsibilities include supporting our Lighting Director Atsushi Seo in various ways. This includes assisting with the pipeline, developing Lighting Tools, supporting other lighting artists with their needs, and primary lighting of environments and characters. My goal is to create a balance between film/narrative elements and gameplay elements.

What was your biggest challenge in becoming a Lighting Artist?
The biggest challenge is having to stick to only Lighting. I miss the days when there were companies that expected people to wear multiple hats/work in multiple disciplines. I miss old id Software. Nowadays you have to pick a discipline such as Level Designer, Environment Artist, Lighting Artist, Concept Artist, etc.

What made you become a Lighting Artist?
Lighting has naturally become a focus in my career. It encompasses many of the other skills I’ve acquired in my previous experiences. I am drawn to lighting work because it is my main passion. Of all the skills I possess, I find lighting to be the most fulfilling and consistent, alongside concept art and matte painting. In my opinion, game design is the most challenging to consistently excel at.

What was your biggest challenge working on TCP?
One of the biggest challenges I faced on TCP was developing adaptability. As is commonly known, the development process is not always straightforward and there can be changes, delays, and other unexpected events. A key skill to have is the ability to save time, increase productivity, and plan ahead effectively in response to these challenges.

What was the experience of building a lighting team like with Atushi Seo?
From the early stages of The Callisto Protocol, Lighting Director Atsushi Seo had a strong vision to raise the bar for lighting in the video game industry, striving for a film-like lighting aesthetic. This shared passion was a key factor in my decision to join the company and led us to search for individuals who shared a similar passion for atmospheric games.

What custom tools did you create for the lighting team during the production of TCP?
Throughout the project, I created various tools, but the most significant one was the Lighting Tools built in Unreal 4, utilizing Blueprints for logic and UMG/Photoshop for the user interface. A huge thank you to Eric Sunwoo and Xi (Ma) Chen for their expertise in C++ and information on rendering and post-processing materials. These tools streamlined our process, saving time by automating almost all tedious tasks, which allowed us to focus on more creative and artistic aspects of our work. The dynamic
storm system was a major highlight, as it was able to imitate flashes of lightning in a highly art-directed way using just one large texture input (one draw call) and timed audio inputs, resulting in a more immersive experience for the player. Many thanks to Ben Liu for his valuable VFX feedback and critique. The tools for water caustics and cookie lights added more depth and detail to the lighting, and additional tools for other departments helped improve the overall quality of the game.

What was the extent of deviation from the original engine to get the desired look for TCP?
I am able to primarily speak about the custom Show LUT (Look Up Table) based on the Kodak 5247 Filmstock that I specifically created for TCP using DaVinci Resolve, as well as the custom Film Grain created using the Post Process Material. This was done with the knowledge obtained from an ASC’s article where Darius Khondji discussed film grain. For more in-depth information, I would recommend speaking with our Lighting Director, Atsushi Seo, can give details on his work with our Director of Creative Engineering & General Manager at Striking Distance Studios Spain, Jorge Jimenez, and the incredible contributions made by his talented rendering team.

What is your opinion on using Da Vinci Resolve as a tool for Lighting Artists?
In my opinion, DaVinci Resolve is the best software for analyzing grades from other
films and creating custom LUTs.

Briefly explain the steps to create a LUT in Da Vinci Resolve for use in Unreal.
We had an in-house tool that facilitated a smooth integration between Unreal 4 and DaVinci Resolve, which Atsushi can go into further detail about. However, even without the tool, the process remains the same. First, load a screenshot of the game into DaVinci and adjust the gamma and color to your preference. Save these changes as a LUT file. Then, in Photoshop, apply the LUT to the default UE4 LUT
image provided by Epic. Import it into Unreal 4, set it as a LookUpTable in the texture properties, and apply it to a Post Process Volume.

What is the recommended method for breaking down and examining movie color grading?
When I analyze and recreate movie grades, I use stills from movies and production photos of the sets that I find online. The stills show the final product that went through a Colorist, while the production photos show more of the raw look. By loading stills from the movie into DaVinci, I can examine the scopes. These show information on various aspects of the image, including gamma and contrast (i.e. the brightness of the whites and darkness of the blacks, whether they are blown out, rolled off, crushed, clipped, lifted, or rich), exposure, and the distribution of saturation and color. The Scopes can reveal if there are any particular colors that lose saturation as they get darker, or if certain colors have a particular bias. Then, I
compare the stills with the production photos and try to match the exposure and color. The goal is to recreate the look without masking specific parts, but rather by making global changes that are consistent and won’t break during use. My learning resources include MixingLight, Lowepost, LiftGammaGain, and others, but the best resource I found is the blog of Colorist Juan Melara. He has a wealth of information
on color grading.

Can you describe the process of light planning in TCP while waiting for finalized scenes?
Atsushi brought up the idea of using light planning. At first, I was familiar with the concept of lighting plans in Cinematography but I was unsure of its application in the Gaming Industry. However, we reached a point where the next batch of cinematics was not yet in the game, we only had SyncSketch videos of Maya animations. To better prepare for the shots, we decided to do a top-down planning of the action that takes place and pre-plan the light sources that would hit the right angles. By the time those scenes were in the game and ready to be lit, using this method, we could be confident and ready to start lighting the cinematics while also being prepared with a plan B if necessary.

What was the most enjoyable aspect of working on TCP?
One of the best aspects of working on TCP is the pre-production phase, where various creative looks can be experimented with. Additionally, it’s rewarding to work on areas that are focused on a single task, whether it’s a cinematic, combat, or exploration. Another highlight is the collaboration with other departments, especially when you have strong working relationships and mutual respect with your
colleagues. On this project, I had the opportunity to work closely with the Design, Characters, Environment Art, Animation, UI, Rendering, Audio and other departments.

What skills and knowledge do you suggest people acquire and master to pursue a career as a Lighting Artist?
I suggest focusing on the fundamentals rather than seeking out complex technology. Take the time to learn from various forms of art such as paintings and movies. Study the works of old masters and traditional art forms. Look at nature, Don’t solely rely on color to make your work appealing. Consider values and shapes in your work and aim to simplify the images so they are easily understood. Ensure
your lighting supports the story you want to tell. Take advice from Gordon Willis, known as the Prince of Darkness, and avoid being a “shotgun lighter.” Instead, have a clear intention for the lighting in your scene and strive to achieve more with fewer lights. When it comes to lighting and color, stick to the “rule of 70, 25, and 5,” meaning that 70% of the scene should consist of shadow, 25% should be mid-tones, and only 5% should be highlights or vice versa. This principle can also be applied to color, where your most saturated colors should occupy only 5% of the scene. If you master the art of lighting a face, you can light any surroundings, as a landscape is simply a face on a larger scale, and a mountain is just a larger version of a nose. Read interviews with your favorite Cinematographers, rewatch your favorite movies in black and white or flipped horizontally, and engage in painting, using movie stills as
inspiration. Lastly, always have a strong desire to learn and improve.

We at Lighting Bot hope you enjoyed the article and thank Yan for contributing to the community. Below are various relevant resources that we think is useful based on this article if you are interested in upskilling.
Our Relevant Resources
Unreal Joker Lighting Tutorial – Free – https://courses.lightingbot.com/free-unreal-lighting-tutorial-joker-subway
Basic Color Grading in Da Vinci Resolve – Free – https://www.youtube.com/watch?v=fCcIqw_fSLQ
Professional Color Grading for 3D Artist/Lighting Artist – Paid – https://courses.lightingbot.com/da-vinci-resolve-for-lighting-artist
Complete Unreal Game Lighting Course – Paid – https://courses.lightingbot.com/introduction-to-unreal-lighting-ue-4-7
[learn_press_profile]